
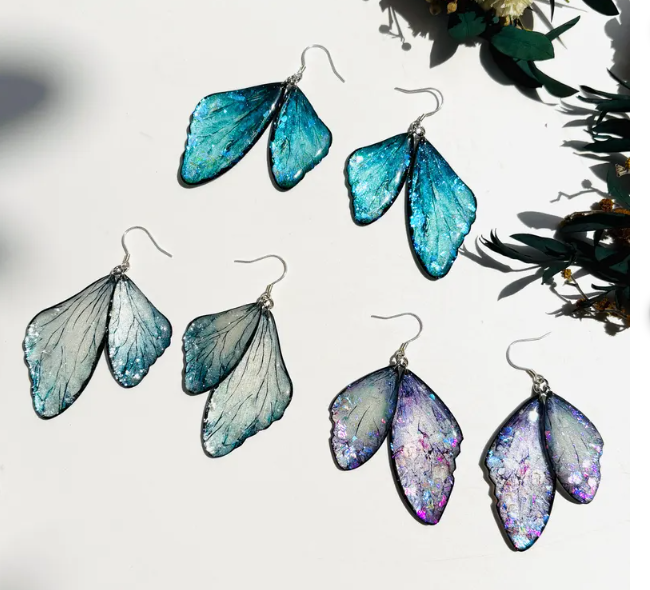

How To Make Resin Earrings?

The Art of Resin Jewelry: A Step-by-Step Guide to Crafting a Custom Earring
Resin earrings are a popular and versatile form of jewelry, offering endless possibilities for color and inclusion. While the basic process mirrors necklace making, creating a perfectly matched pair requires extra attention to detail and specialized assembly techniques.
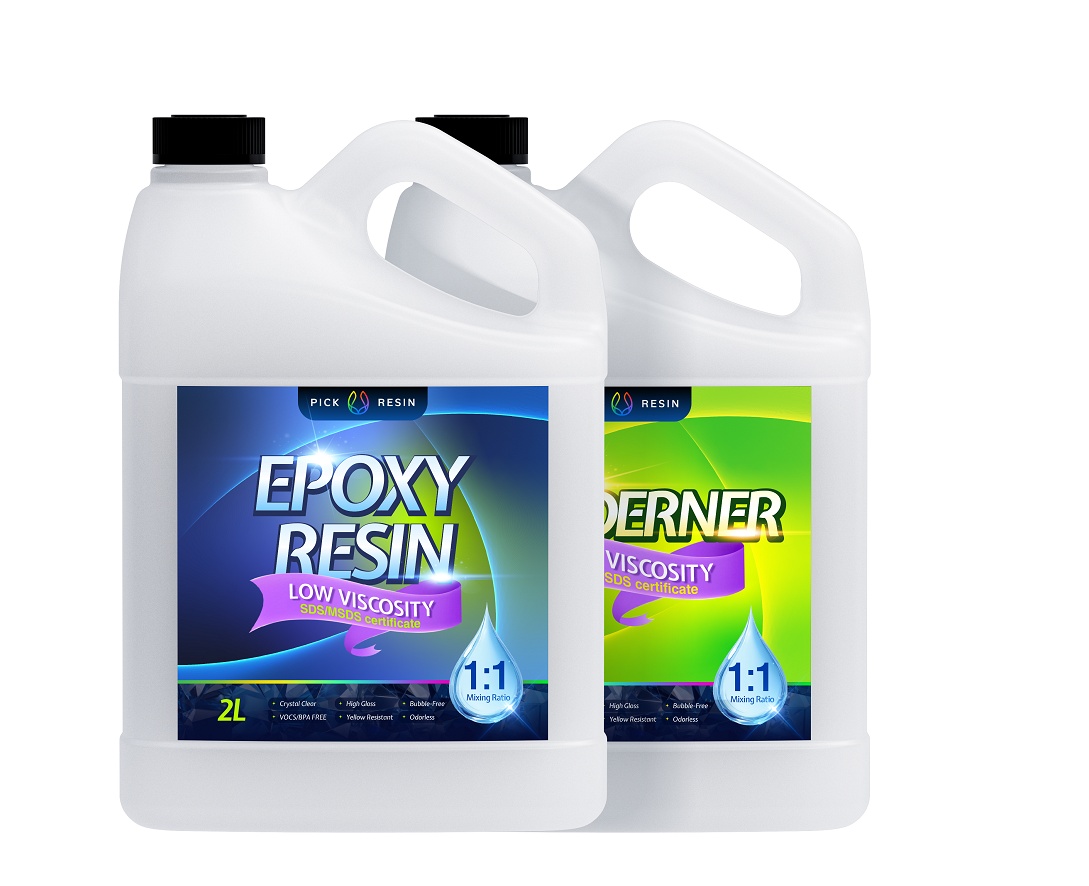
I. Essential Materials and Specialized Tools
In addition to standard resin and safety gear, the following items are crucial for earring creation:
|
Category
|
Item
|
Purpose
|
|
Casting
|
Silicone Earring Molds (e.g., stud, dangle, hoop shapes)
|
Smaller molds designed specifically for earring components.
|
|
Inclusions
|
Fine Glitter, Mica Powders, Small Dried Flowers
|
Smaller scale inclusions are necessary for the delicate size of earrings.
|
|
Assembly
|
Earring Findings (Hooks, Posts, Jump Rings)
|
The metal components that allow the earring to be worn.
|
|
Tools
|
Jewelry Pliers (Needle-Nose, Round-Nose), Pin Vise (Hand Drill)
|
Essential for manipulating small metal components and drilling holes.
|
|
Finishing
|
Craft Knife or Precision Blade, Fine-Grit Sandpaper
|
For removing excess resin (Flash) and smoothing edges.
|
II. Step-by-Step Earring Creation
Step 1: Preparation and Pairing
Set up your ventilated workspace and put on all Personal Protective Equipment (PPE). Clean your silicone molds thoroughly. The most critical step for earrings is Pairing: select and prepare your inclusions (flowers, pigments) to ensure the two pieces will be as symmetrical and consistent as possible.
Step 2: Mixing and Pouring
Accurately measure and slowly mix your two-part epoxy or UV resin. For earrings, especially small studs, UV Resin is often preferred for its quick cure time and minimal need for large batches. Carefully pour the resin into the small molds, ensuring you do not overfill.
Step 3: Inclusion Placement and Curing
Using a toothpick or a fine-tipped tool, precisely place your inclusions. Due to the small size of the molds, placement is key. For dangle earrings, you may need to embed a small Eye Pin or Jump Ring loop near the top edge before the resin fully cures. Allow the resin to cure completely according to the manufacturer's instructions (UV lamp for UV resin, 24-48 hours for epoxy).
Step 4: Demolding and Finishing
Carefully Demold the cured resin pieces. Inspect the edges for any sharp points or excess resin, known as Flash. Use a craft knife to trim the flash, followed by fine-grit sandpaper (up to 3000 grit) to smooth and polish the edges for a comfortable, professional finish.
Step 5: Drilling and Assembly
If you did not embed a loop in Step 3, use a Pin Vise (hand drill) to carefully drill a small hole near the top edge of the resin piece.
For Dangle Earrings:
1.Use Needle-Nose Pliers to open a Jump Ring.
2.Thread the jump ring through the drilled hole (or embedded loop) and then through the loop on the bottom of the Earring Hook (or Fishhook).
3.Close the jump ring securely.
For Stud Earrings:
1.Glue a flat-backed Earring Post directly to the back center of the resin piece using a strong adhesive (like E6000 or a small amount of fresh resin).
2.Allow the adhesive to cure fully. The earring is secured to the ear with a Butterfly Back or Earnut.
Step 6: Final Quality Check
Compare the two finished earrings side-by-side to ensure they are a perfect match in color, clarity, and hardware placement. Your custom resin earrings are now ready to wear or sell.
Written by Pick Resin