
How to make amazing resin necklace?

The Art of Resin Jewelry: A Step-by-Step Guide to Crafting a Custom Necklace
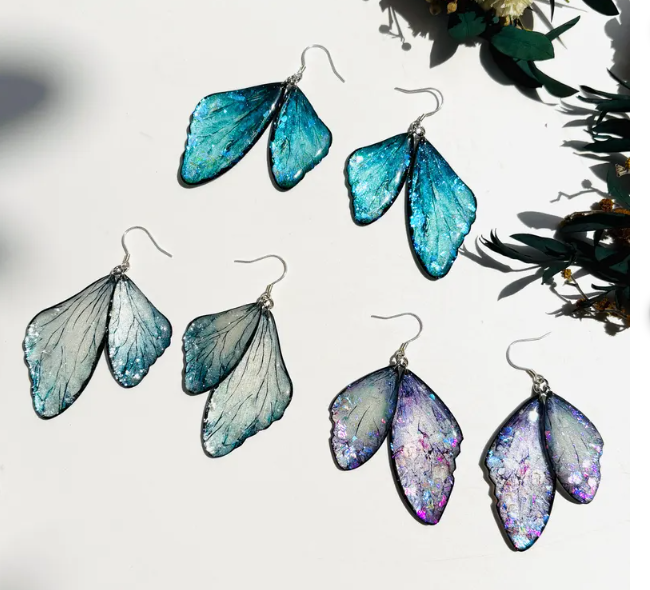
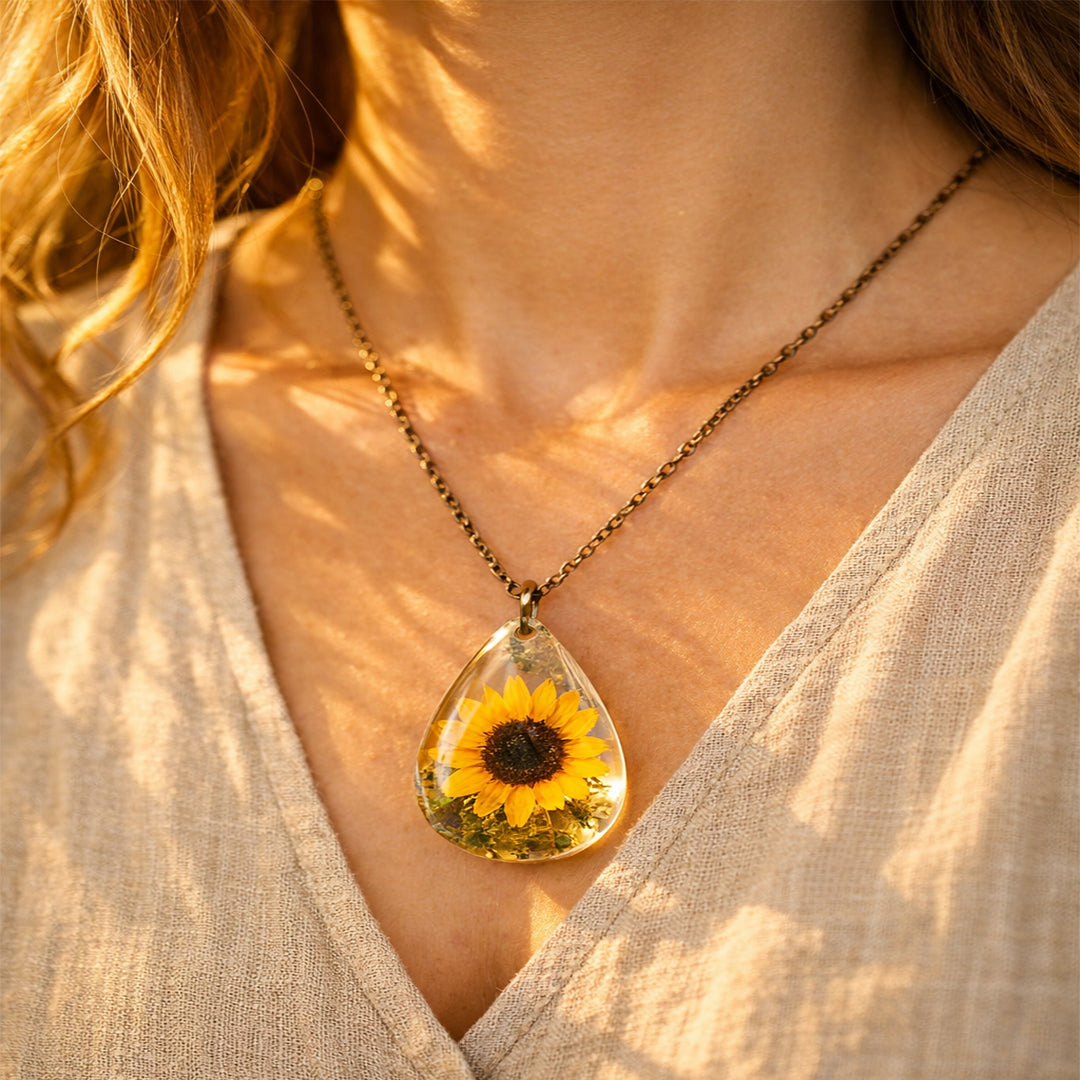
Resin jewelry making is a rewarding craft that allows for the encapsulation of various inclusions—such as dried flowers, glitter, or pigments—into a durable, clear, and glossy finish. This guide provides a comprehensive, step-by-step process for creating a professional-quality resin necklace, focusing on safety and precision.
I. Essential Materials and Tools
The quality of your final piece depends heavily on the materials used and adherence to safety protocols. The following table outlines the essential items for this project:
|
Category
|
Item
|
Purpose
|
|
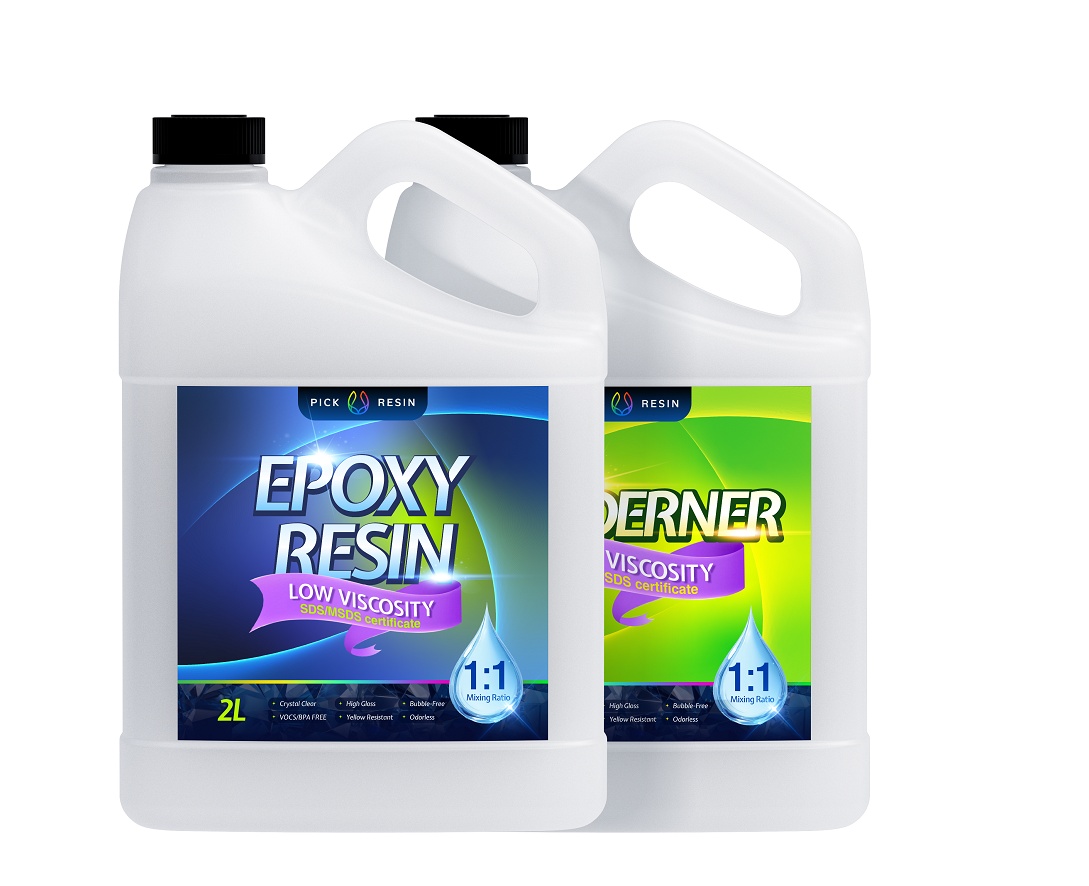
Resin System
|
Epoxy Resin (Part A) & Hardener (Part B)
|
The two-part chemical system that cures into a solid plastic.
|
|
Safety Gear
|
Nitrile Gloves, Safety Glasses, Respirator (with organic vapor cartridges)
|
Essential Personal Protective Equipment (PPE) for protecting skin, eyes, and lungs from chemical fumes.
|
|
Mixing
|
Measuring Cups (silicone or disposable), Stir Sticks
|
For accurately measuring and slowly mixing the resin and hardener.
|
|
Casting
|
Silicone Mold or Jewelry Bezel
|
To shape the resin pendant.
|
|
Inclusions
|
Dried Flowers, Pigments, Glitter, Mica Powder, etc.
|
Decorative elements to be suspended within the resin.
|
|
Finishing
|
Sandpaper (various grits, e.g., 400 to 3000), Polishing Compound
|
For smoothing rough edges and achieving a high-gloss finish.
|
|
Assembly
|
Jump Rings, Necklace Chain, Jewelry Pliers (e.g., needle-nose)
|
To attach the finished pendant to the necklace chain (jewelry findings).
|
II. Step-by-Step Casting Instructions
Step 1: Preparation and Safety Protocol
Set up a dedicated, well-ventilated workspace, ideally near an open window or with an exhaust fan. Lay down a drop cloth or silicone mat to protect surfaces from spills. Crucially, don the necessary PPE—nitrile gloves, safety glasses, and a respirator—before handling any chemicals. Ensure your mold and all inclusions are clean, dry, and readily accessible.
Step 2: Measure and Mix the Resin
Consult your specific resin system's instructions for the precise mixing ratio (e.g., 1:1 or 2:1 by volume). Measure Part A (Resin) and Part B (Hardener) accurately into a clean mixing cup. Stir slowly and deliberately for the recommended time (typically 3-5 minutes), continuously scraping the sides and bottom of the cup. Slow stirring is vital to prevent the introduction of excessive air bubbles, which can compromise the clarity of the final piece.
Step 3: Pour the Base Layer
Pour a thin layer of the thoroughly mixed resin into your mold or bezel. This initial base layer serves two primary functions: it acts as an adhesive to prevent light inclusions from floating, and it allows for initial degassing. Use a heat gun or a lighter flame (held briefly and several inches away) to pop any surface bubbles.
Step 4: Place Inclusions and Layering
Using tweezers or a pin, carefully place your decorative elements (inclusions) onto the base layer. Arrange them as desired. For deeper pieces, it is best practice to allow this layer to partially cure (become tacky, but not fully hard) to lock the inclusions in place before proceeding. Then, mix a new batch of resin if needed, and pour the next layer, fully covering the inclusions. Repeat the degassing process. For very deep molds, multiple thin layers are recommended to minimize the exothermic reaction (heat generation) and bubble formation.
Step 5: Curing and Demolding
Cover the mold to protect the piece from dust and allow the resin to cure completely according to the manufacturer's instructions (this can range from 24 to 72 hours for epoxy resin). Do not disturb the piece during this time. Once fully cured, the resin will be hard and non-tacky. Carefully demold the pendant by gently flexing the silicone mold.
Step 6: Finishing and Assembly
Inspect the edges of the demolded pendant. If there are any sharp edges or imperfections, use sandpaper (starting with a coarse grit and moving to a very fine grit, such as 3000) to smooth them out. For a brilliant, glass-like finish, apply a small amount of polishing compound and buff the piece. Finally, attach a jump ring to the pendant (either through a pre-existing loop or a small hole drilled into the resin) and thread it onto a necklace chain using jewelry pliers. Your custom resin necklace is now complete.
Written by Pick Resin
