
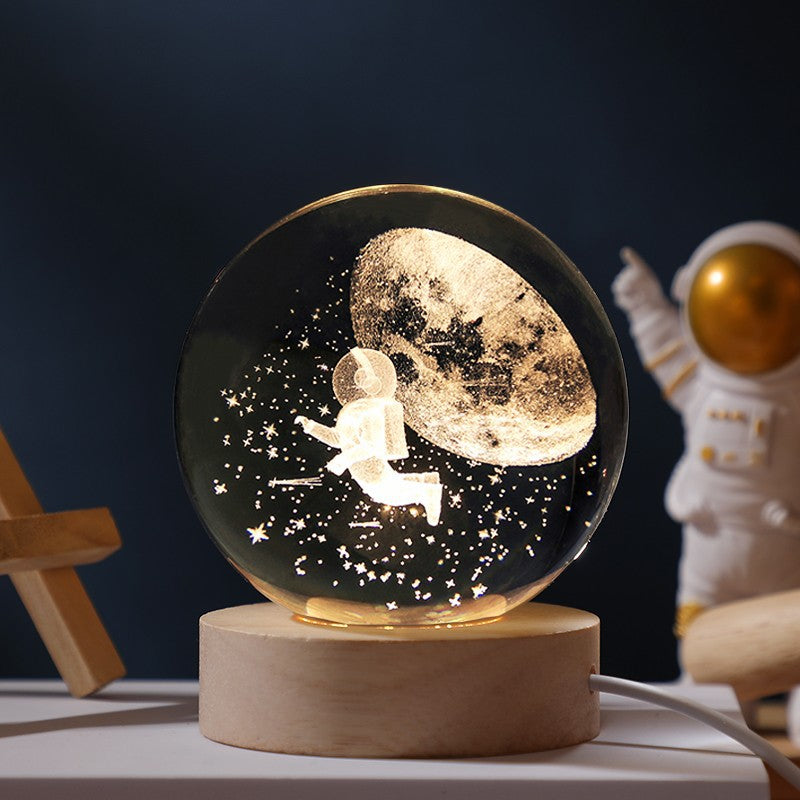
How to Make an Epoxy Resin Planet Night Light

Materials & Tools
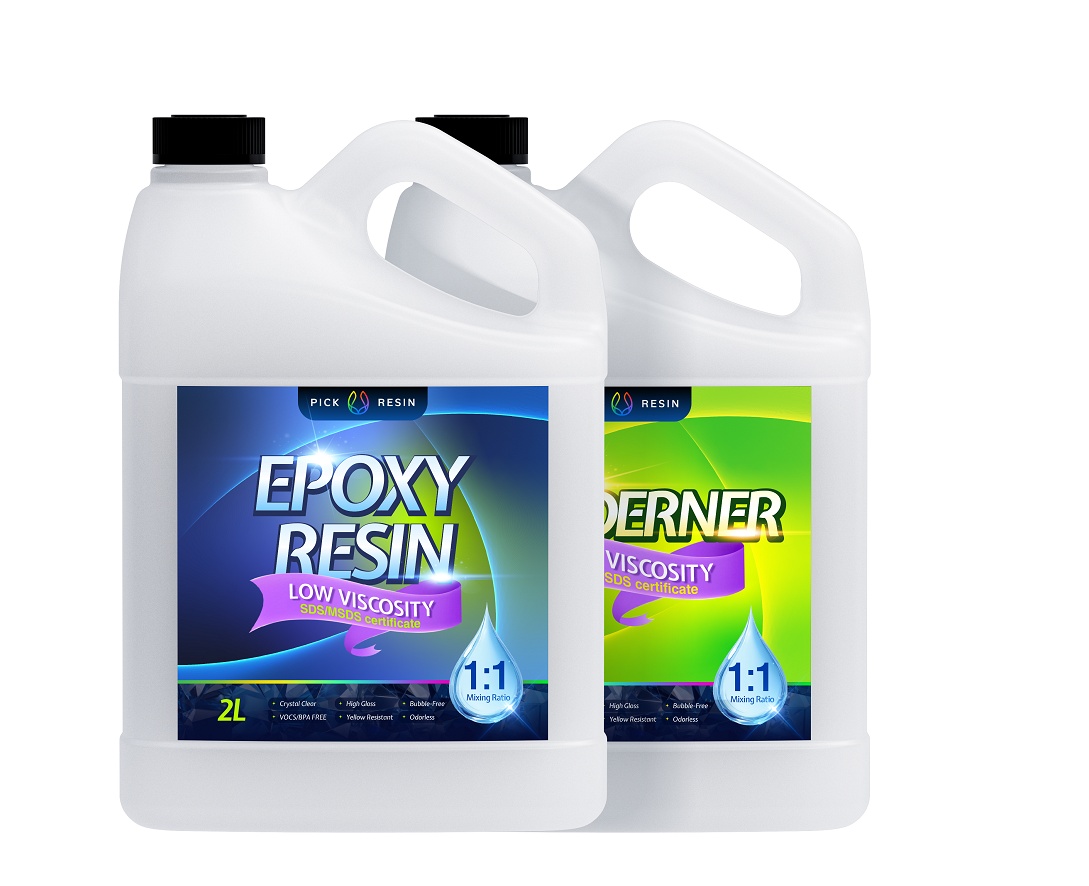
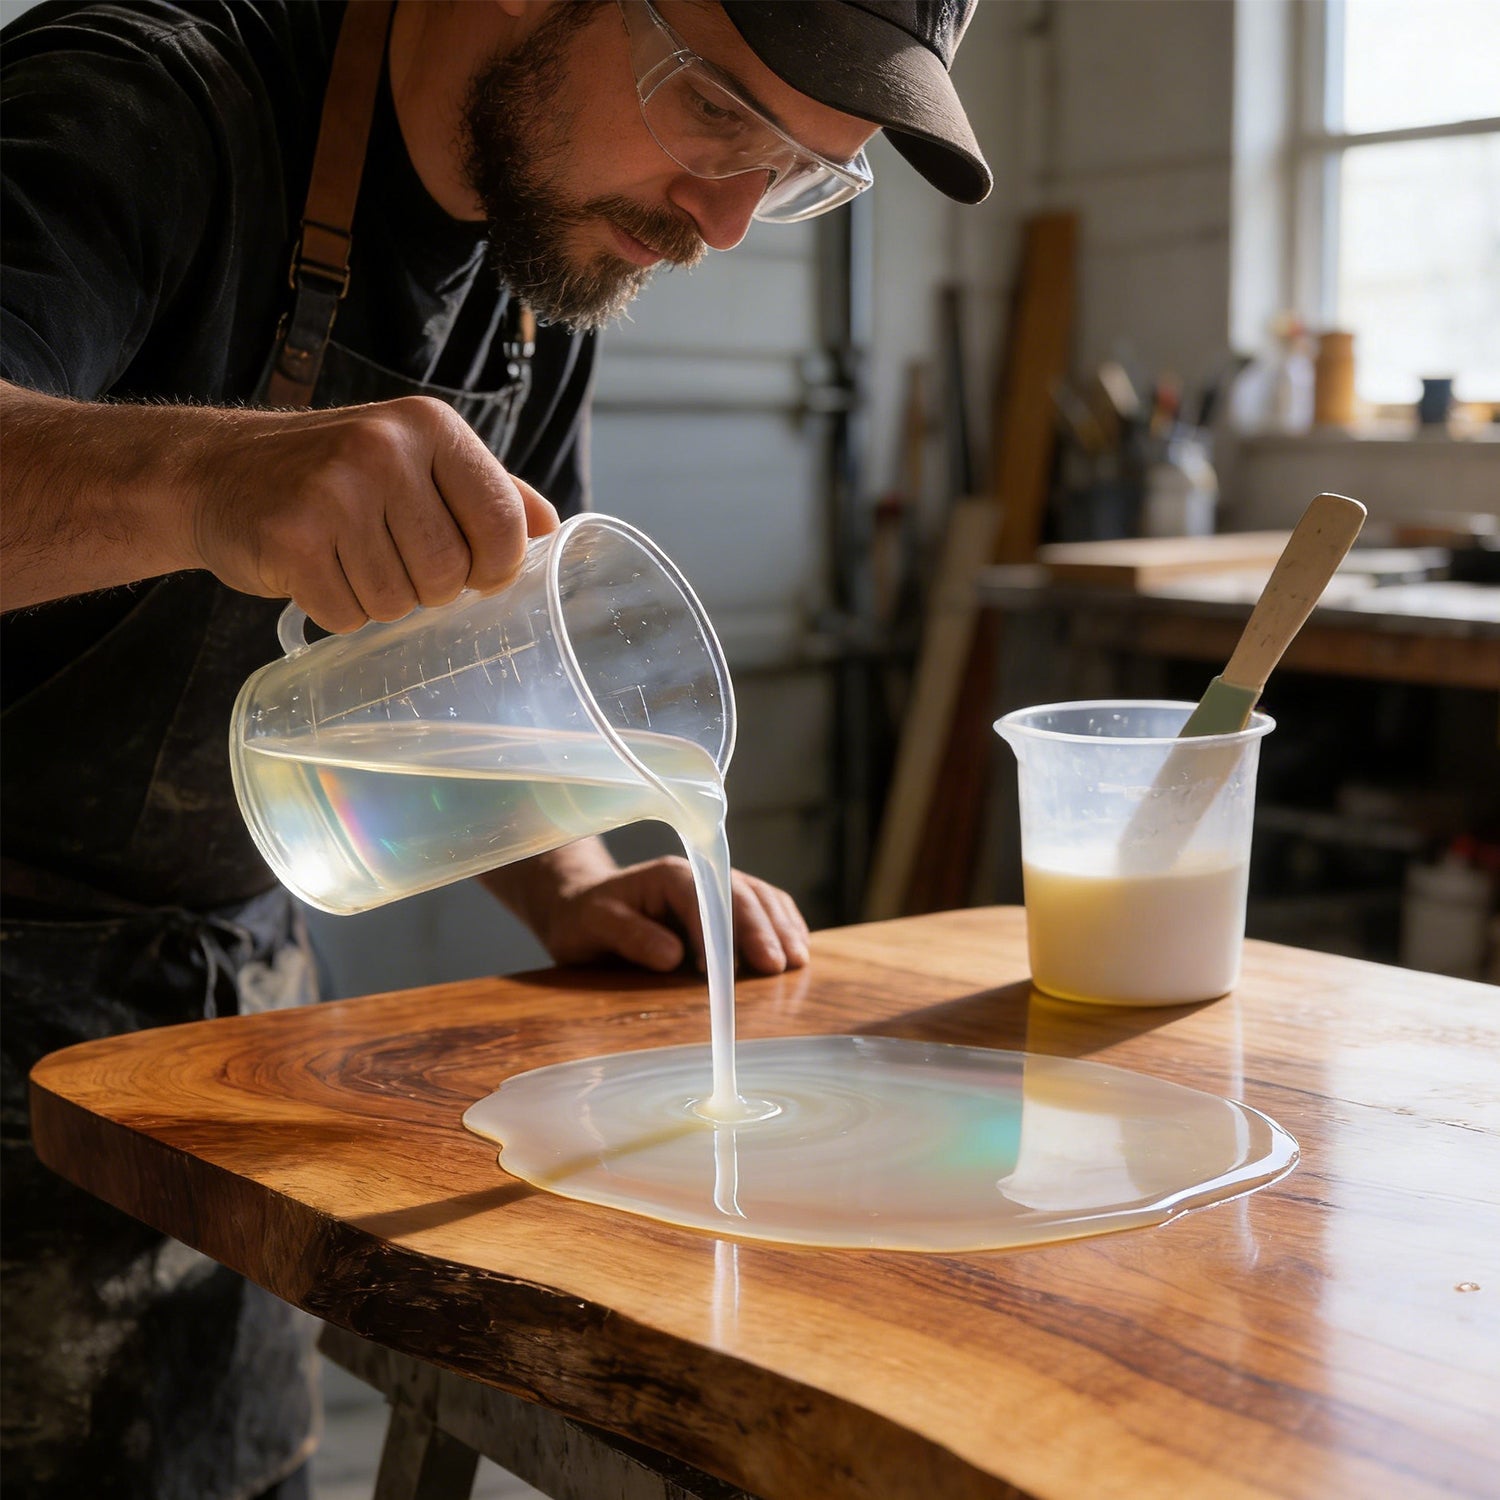
- Epoxy resin (Part A) and hardener (Part B) — follow manufacturer ratio (common: 1:1 or 2:1)
- Pearlescent mica powders, glow-in-the-dark powder, or alcohol inks (colors: blue, purple, green, gold, etc.)
- Clear silicone spherical mold or sphere lamp mold
- Small LED module (battery or USB)
- Disposable mixing cups, stir sticks, syringes or small funnel
- Nitrile gloves, respirator mask, safety goggles
- Heat gun or kitchen torch (for removing bubbles)
- Sandpaper (400/800/1200 grit) and polishing compound
- Wooden base or stand (optional)
Preparation & Mixing (15–30 minutes)
- Clean the mold thoroughly; apply mold release if desired.
- Measure Part A and Part B precisely per product instructions; start timing after mixing.
- Stir slowly and thoroughly for 1–3 minutes, scraping sides and bottom to avoid unmixed resin.
- Divide mixed resin into small cups and tint with mica, glow powder, or alcohol ink to create multiple colors.
Layering & Pouring to Create Planet Textures (30–60 minutes, depending on layers)
- Pour a thin clear base layer (about 15–25% of mold volume). Use a heat gun to pop bubbles. Let it partially set (not fully cured).
- Add colored layers: slowly inject or pour different tinted resins in rings, swirls, or spirals to mimic planetary bands and clouds. Use syringes or a spoon for control.
- Add glitter, metallic flakes, or glow powder in a middle layer for “star dust.” Don’t over-add to preserve translucency.
- After each layer, remove surface bubbles with the heat gun and allow the surface to tack slightly before next pour.
Curing & Demolding (24–72+ hours)
- Place the filled mold in a dust-free, vibration-free area at stable temperature (ideal 20–25°C / 68–77°F).
- Initial demold is often possible at 24 hours (depends on resin). Full hardness may require 48–72 hours or longer.
- Demold carefully. Sand any imperfections starting with 400 grit, progressing to 800 then 1200 grit. Polish to a glossy finish.
Installing the Light & Finishing
- If using a hollow or partially hollow sphere, install the LED module into the cavity or mount LED in the base and create an access hole.
- Secure the LED and wiring; test before sealing. Seal access points with clear resin if needed.
- Attach a wooden or metal base to hide wiring and stabilize the lamp.
Safety & Tips
- Work in a well-ventilated area and wear gloves, mask, and eye protection.
- Follow exact A/B mix ratios — incorrect ratios cause sticky or soft cures.
- Pour in thin layers for thick pieces to control heat buildup and avoid excessive exotherm.
- Test small color mixes and glow powder concentrations before committing to a full piece.
- For stronger glow, use high-quality phosphorescent powder and charge under bright light.
Variations & Ideas
- Use glow-in-the-dark center core for a daytime-charged night glow.
- Create semi-transparent planets or embed tiny models/rocks for a mini landscape.
- Make a floating display using a clear rod and base for a levitating effect.
Written by Pick Resin
%20and%20hardener%20(Part%20B)%20%E2%80%94%20follow%20manufacturer%20ratio%20(common:%201:1%20or%202:1)%0APearlescent%20mica%20powders,%20glow-in-the-dark%20powder,%20or%20alcohol%20inks%20(colors:%20blue,...)