

How To Create Amazing River Table With Epoxy Resin?
The Definitive Guide to Crafting an Epoxy Resin River Table
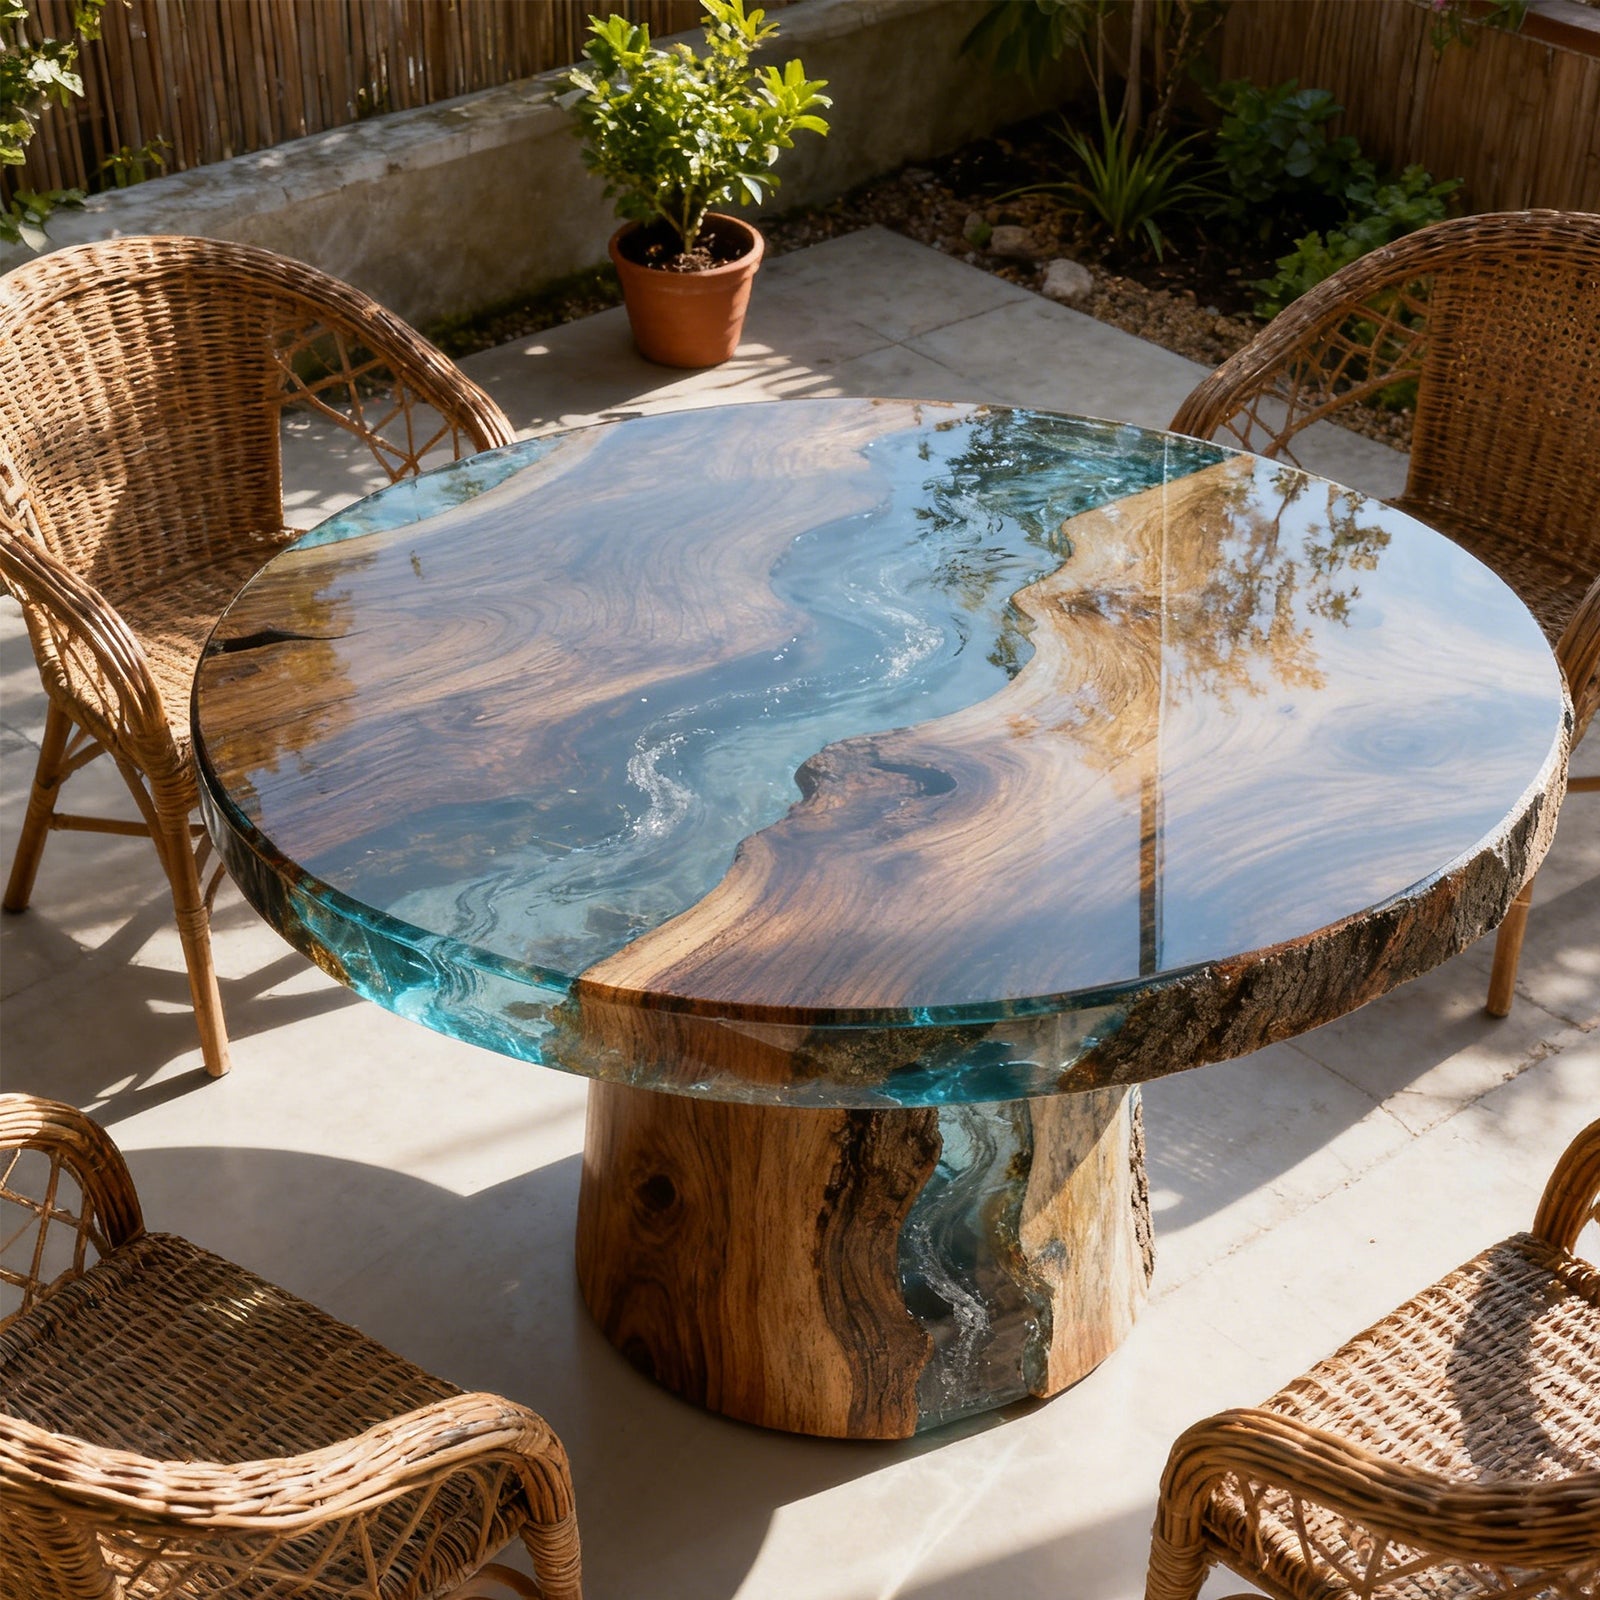
The Epoxy Resin River Table is a striking piece of furniture that merges the organic beauty of natural wood with the clarity and color of modern resin technology. This guide provides a comprehensive, step-by-step process using professional terminology to ensure a high-quality, durable finish.
I. Preparation and Material Selection
The success of a river table hinges on meticulous preparation, particularly concerning the wood and the mold.
1. Wood Selection and Preparation
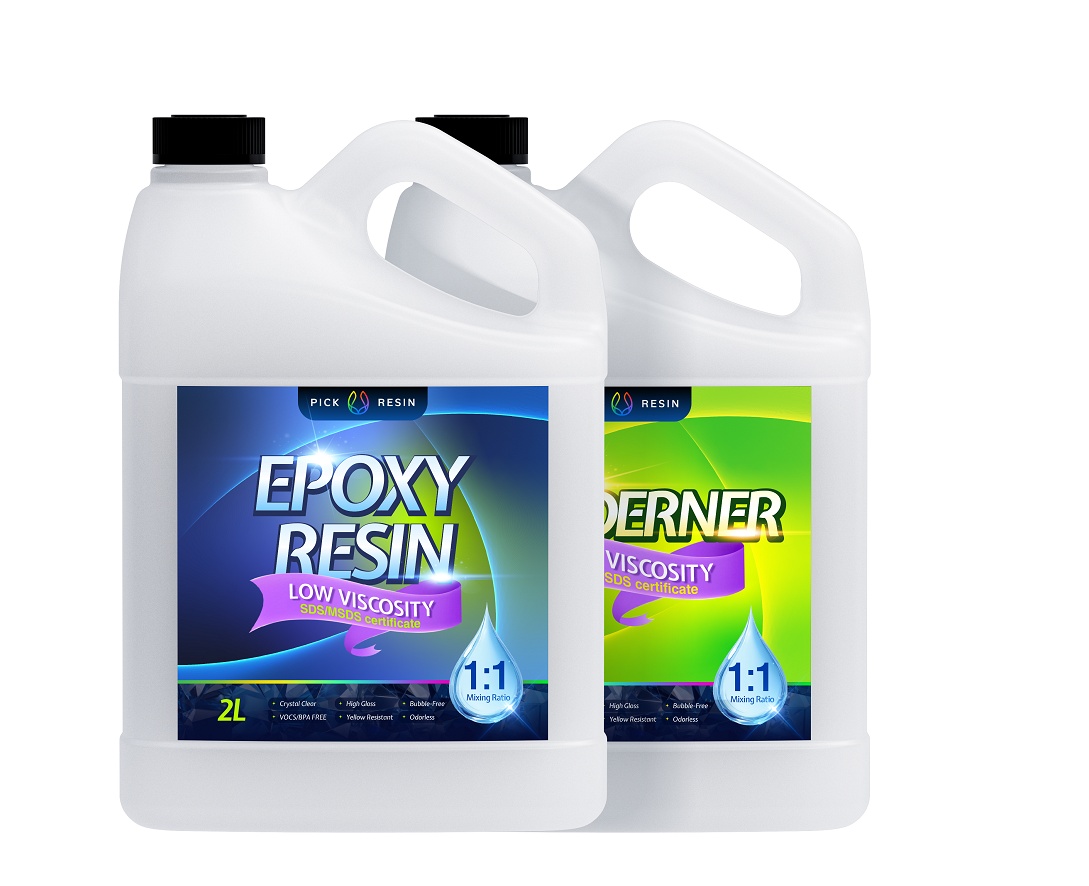
The most critical factor is the wood's moisture content. It is essential to use kiln-dried wood slabs, typically with a moisture content below 12%, to prevent future movement, cracking, or excessive outgassing . Popular choices include Walnut, Maple, and Oak, often utilizing live edge slabs to maximize the natural aesthetic.
|
Material
|
Key Requirement
|
Purpose
|
|
Wood Slabs
|
Kiln-dried (MC < 12%)
|
Prevents warping and cracking after resin cure.
|
|
Epoxy Resin
|
Deep Pour / Casting Resin
|
Formulated for thick pours, minimizes heat generation, and extends working time.
|
|
Mold Material
|
Melamine or HDPE
|
Provides a smooth, rigid, and non-porous surface for easy demolding.
|
|
Sealant
|
Thin Epoxy or Shellac
|
Used for the seal coat to prevent air from escaping the wood (outgassing) during the main pour.
|
2. Constructing the Formwork (Mold)
A robust, leak-proof mold is non-negotiable. The mold is typically constructed from melamine or high-density polyethylene (HDPE) due to their smooth, non-stick properties. All internal seams must be sealed with silicone caulk and allowed to fully cure. The entire interior surface of the mold must be lined with Tyvek tape or specialized sheathing tape to ensure the resin does not bond to the mold, allowing for clean demolding .
II. The Pouring Process
This phase involves sealing the wood, mixing the resin, and the final pour.
1. Sealing the Wood (Seal Coat)
Before the main pour, apply a thin seal coat of epoxy to all surfaces of the wood that will contact the main resin pour, especially the live edges. This step is crucial for preventing outgassing, where air trapped in the wood's pores escapes into the resin, creating bubbles. Allow the seal coat to cure until tacky or fully hard, depending on the resin manufacturer's instructions.
2. Mixing and Deep Pour
The resin used for river tables is typically a Deep Pour or casting epoxy, designed for layers up to 2 inches thick.
•Mixing: Measure the resin (Part A) and hardener (Part B) precisely by volume or weight, as specified by the manufacturer. Mix slowly and thoroughly for 3-5 minutes, scraping the sides and bottom of the container to ensure complete chemical reaction.
•Coloring: Add liquid pigments, mica powders, or metallic flakes to the mixed resin to achieve the desired "river" effect.
•Pouring: Slowly pour the resin into the mold, filling the gap between the wood slabs. If the depth exceeds the resin's maximum pour depth, the process must be done in layers, allowing each layer to cool before pouring the next.
•Bubble Removal: Immediately after pouring, use a propane torch or heat gun to quickly pass over the surface to pop any surface bubbles. Do not hold the heat source in one spot for too long, as this can scorch the resin.
III. Curing and Flattening
1. Curing
Allow the resin to cure fully, which can take anywhere from 48 hours to 7 days, depending on the product and ambient temperature. The resin is fully cured when it is hard to the touch and no longer tacky.
2. Flattening and Planing
Once cured, the table must be removed from the mold and flattened. Since the resin pour and the wood slabs will not be perfectly level, a router sled or a wide-belt planer is used to remove excess material and achieve a perfectly flat surface . This process is essential for a professional finish.
IV. Sanding and Finishing
This is the most time-consuming but rewarding phase, determining the final clarity and sheen of the table.
1. Progressive Sanding
The entire surface (wood and resin) must be sanded progressively, starting with a coarse grit to remove deep scratches from the flattening process, and moving to finer grits.
|
Grit Range
|
Purpose
|
Result
|
|
Coarse (80 - 120)
|
Removes planer/router marks and levels the surface.
|
Matte, rough finish.
|
|
Medium (180 - 320)
|
Removes scratches from the coarse grit.
|
Smooth, slightly hazy finish.
|
|
Fine (400 - 800)
|
Prepares the surface for polishing.
|
Clearer, but still dull finish.
|
|
Ultra-Fine (1000 - 3000+)
|
Wet sanding to achieve a high-gloss, mirror-like finish.
|
Crystal clear, high-gloss finish.
|
2. Final Finish
After sanding, the table is cleaned thoroughly. A final protective finish is applied to the wood and resin. Options include:
•Hardwax Oil: Penetrates the wood, providing a natural, matte finish while protecting the resin.
•Polyurethane/Varnish: Creates a durable, hard-shell finish, often with a higher gloss.
•Buffing Compound: For the resin section, a specialized buffing compound can be used with a rotary polisher after the ultra-fine sanding to achieve the ultimate mirror-like clarity.
Written by Pick Resin

